I had forgotten how much I love a simple recipe, especially one involving chocolate. Although since becoming dairy free I have, for unknown reasons, not tried many sweet recipes. Mainly because avocado chocolate mousse just doesn’t really float my boat! Anyway, it took a little trial and error to get the right set on it, but got there in the end, so here is my dairy free rocky road recipe with a twist.
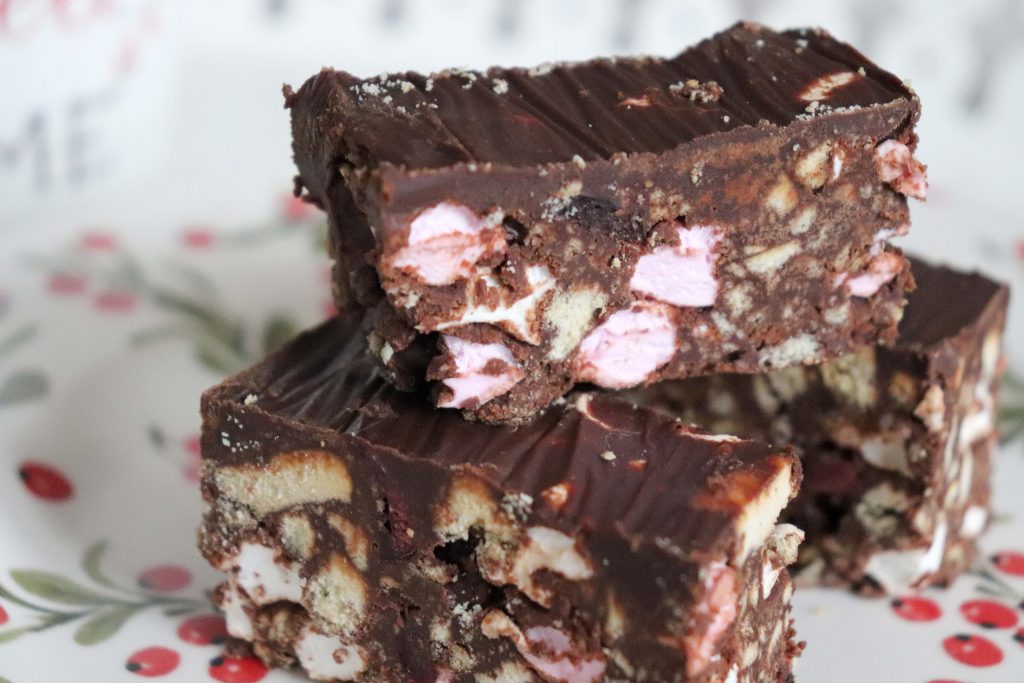
Traditionally rocky road has glace cherries in, which I detest, so I swapped them out for dried cranberries which to my mind work perfectly with the dark chocolate. It is also useful to bear in mind that not all dark chocolates are what they appear to be, and the vast majority of cheaper bars contain some form of dairy in them. Which can be bloody frustrating when you don’t want to spend £10+ on chocolate! After a quick scour of the shops I discovered that Sainsburys basic dark chocolate is in fact dairy free, and at 50p per bar is perfect for making slabs of rocky road cheaply!
You can also use either digestives (Aldi’s are dairy free) or as I did you can use Rich Tea biscuits. Again Sainsburys basics are ideal and 35p a pack, which make for a crunchier bite as opposed to the crumbly digestive. You can also opt for the more expensive vegan marshmallows or get the cheapest mini marshmallows as I did from the baking section. I get a bag for £1 and that will usually do 2 large slabs of rocky road. Obviously marshmallows are generally dairy free, however it’ll be the gelatine that you will need to pay most attention to dependent on your faith as the mini ones use pork and the large ones use beef. Something you need to keep in mind when making for other people and school bake sales.
Obviously as the ranges I have mentioned are not specifically ‘dairy free’ there is the disclaimer on the packet of “may contain” due to the manufacturing process. Something you should keep in mind if your allergy people are hyper sensitive or anaphylaxis. Either way, making is often way cheaper than buying ready-made and much more fun!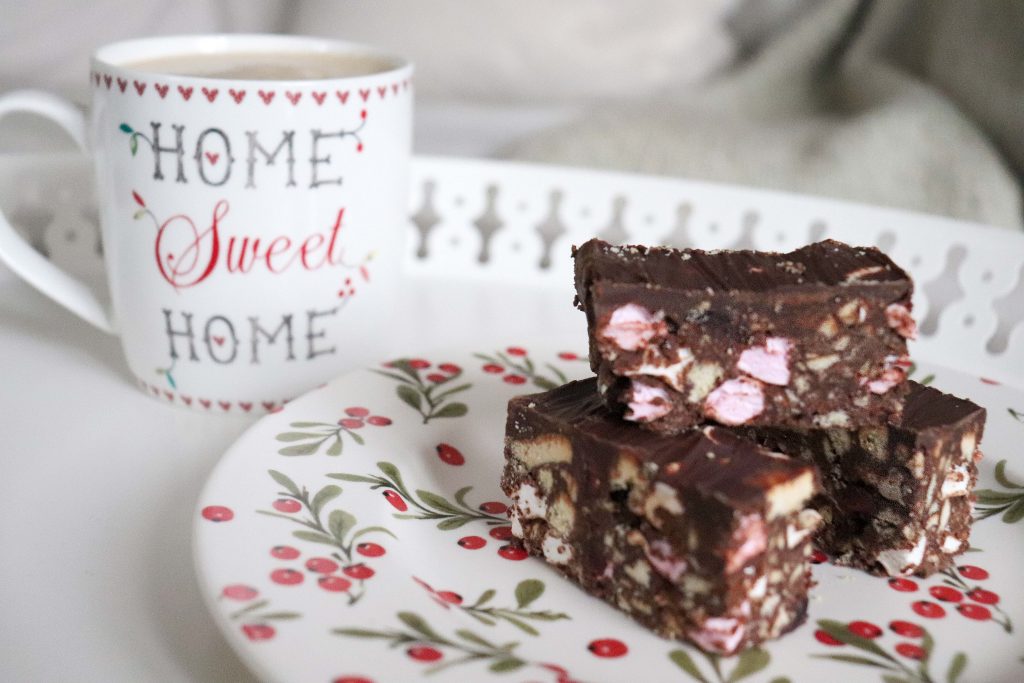
So here is my recipe for Dairy Free Rock Road.
Enjoy!
Sophie x
Disclaimer: None of the companies or brands referenced in this post have asked me or paid me to mention them. It’s just helpful to know which products are dairy free without the hefty price tag!

Dairy Free Rocky Road
This easy and quick to make recipe will be a winner every time.
It makes an ideal treat for littles after school, on picnics or even on your own with a cuppa.
Ingredients
- 500 g Dark Chocolate I use the Sainsburys basics as it is dairy free and only 50p per 100g bar
- 160 g Dairy Free Flora
- 375 g Rich Tea or Digestive Biscuits
- 90 g Mini Marshmallows
- 4 tbsp Golden Syrup
- 50 g Dried Cranberries
Instructions
-
In a saucepan, on a low heat, melt the dairy free spread and golden syrup together until runny and warm.
-
Chop the dark chocolate as small as you can, so that it melts quickly when you add it to the dairy free spread and golden syrup mix. If needed return to the heat until the lumps of choclate have just melted and then remove so as not to burn the chocolate.
-
Set a quarter of the chocolate mix to the side. Add the marshmallows to the pan, so they warm slightly in the chocolate and become sticky.
-
In a ziplock back, use a rolling pin to crush the biscuits. You want most of it quite fine with some 'rocks' in there. Then add it to the choclate mix alonf with the cranberries and stir together until everything is evenly coated in chocolate.
-
This amount of mix will either fill a 12" x 8" foil tray, however i highly recommend greasing the tray or lightly coating in oil before you put the Rocky Road mix in as this will help turning it out once set. Press the mixture into the tray with the back of a metal spoon and smooth over as best you can.
-
The chocolate held back can now be poured over the top and spread out to cover the whole slab of Rocky Road. The tray can be put int he fridge for atleast 3 hours to set or cover with cling film and place in the freezer for at least 1 hour.
-
Once set you can turn the whole slab out onto a board. I recommend cutting the slab lengthways into thirds and then cutting each bar into approximately 1" fingers. You can then keep them in the fridge in an air tight container to eat as you like. But be warned they will all be gone before the week is out!